You can add images to a Zomentum document to support your content whether the image is saved on your device or already published online.
Step 1: Choose How You Want to Add the Image
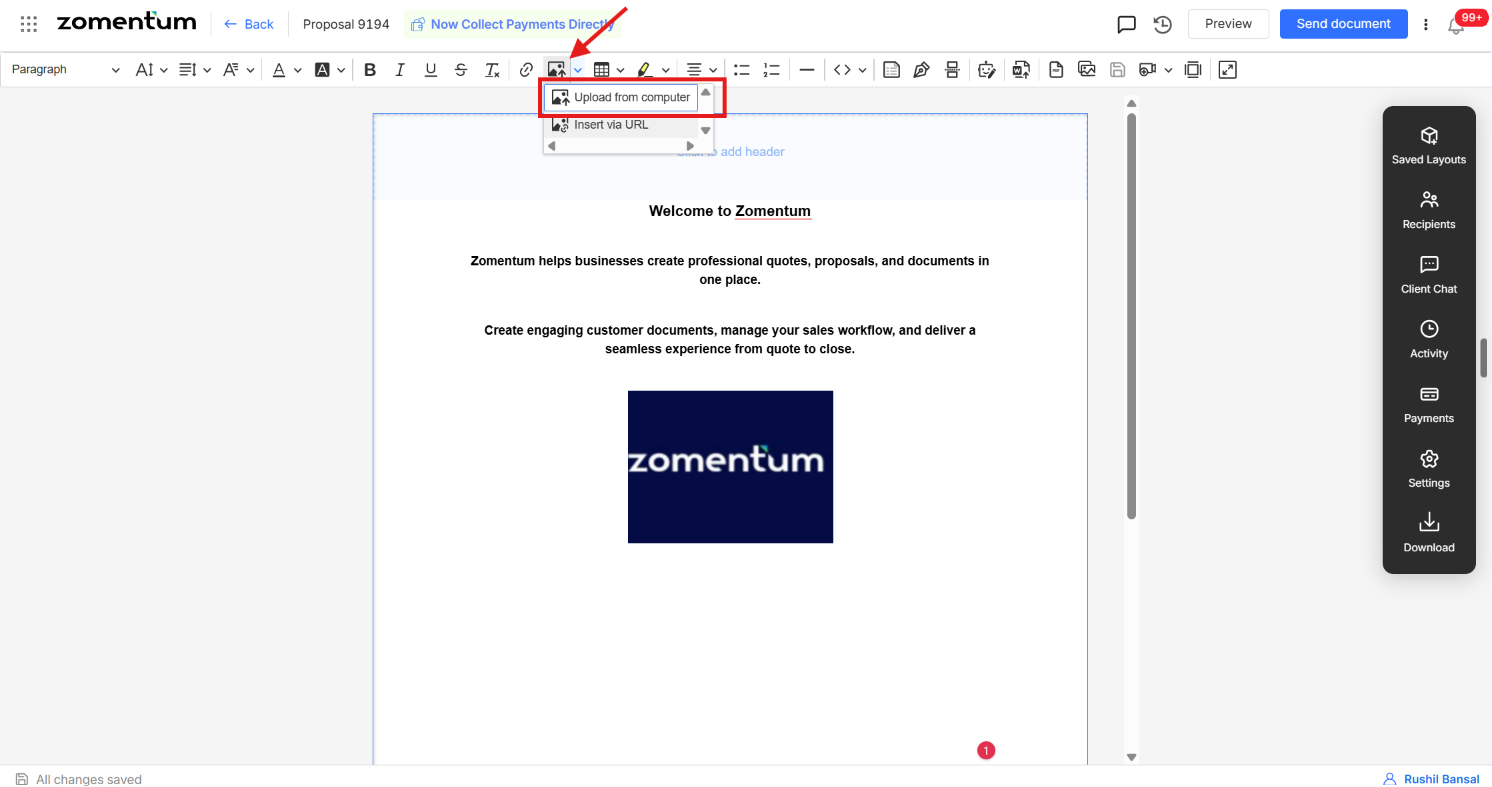
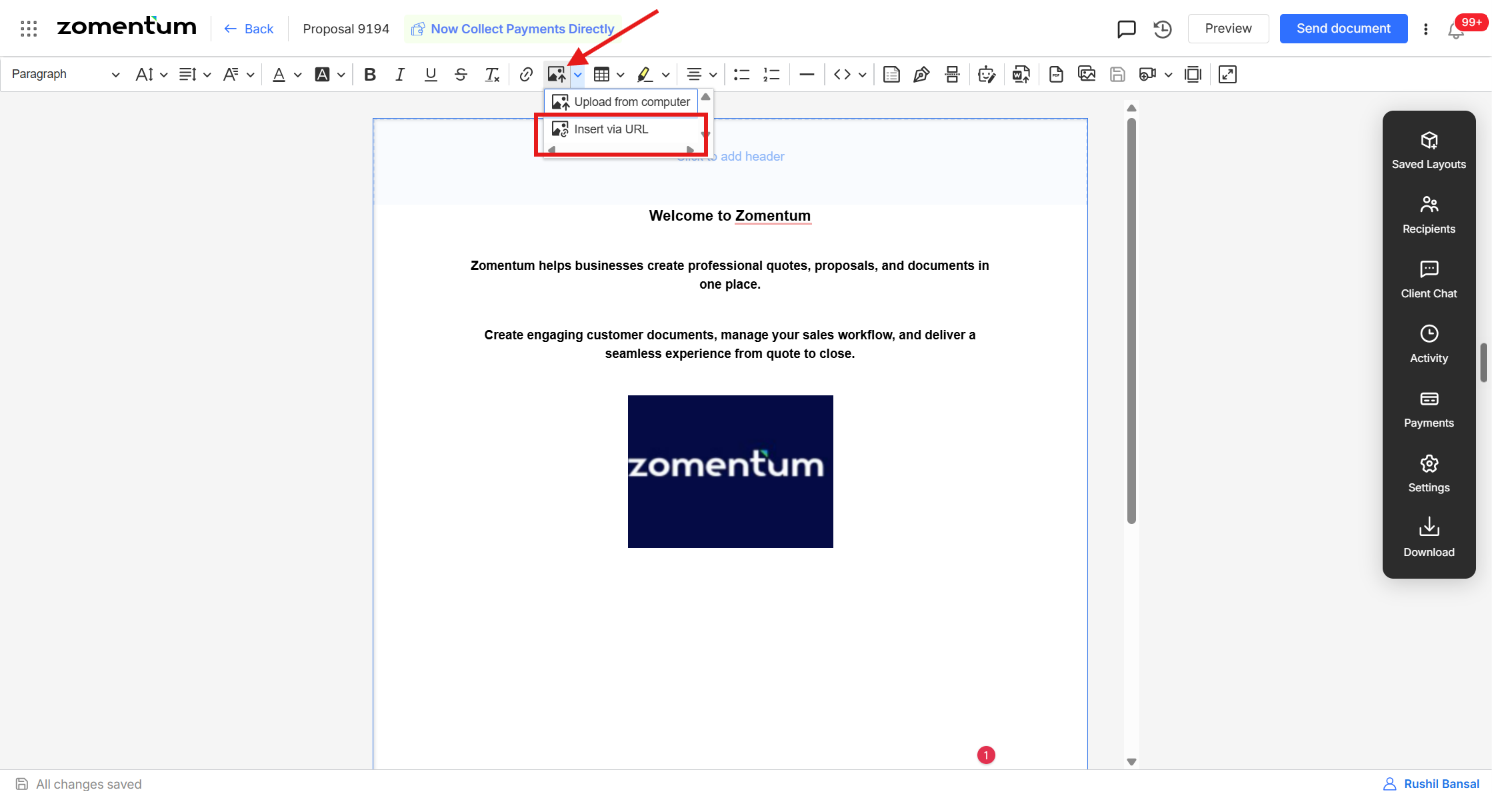
In the toolbar at the top of the editor, you'll find two options for adding an image:
Upload from Computer — browse your device and upload an image file directly from your computer.
Insert by URL — if the image is already hosted online, paste its web address (URL) and the image will be pulled directly into your document.
Step 2: Format the Image
Once the image has been added, click on it to bring up the formatting options in the toolbar. From there, you can align the image left, right, or centre, and resize it to fit your layout.
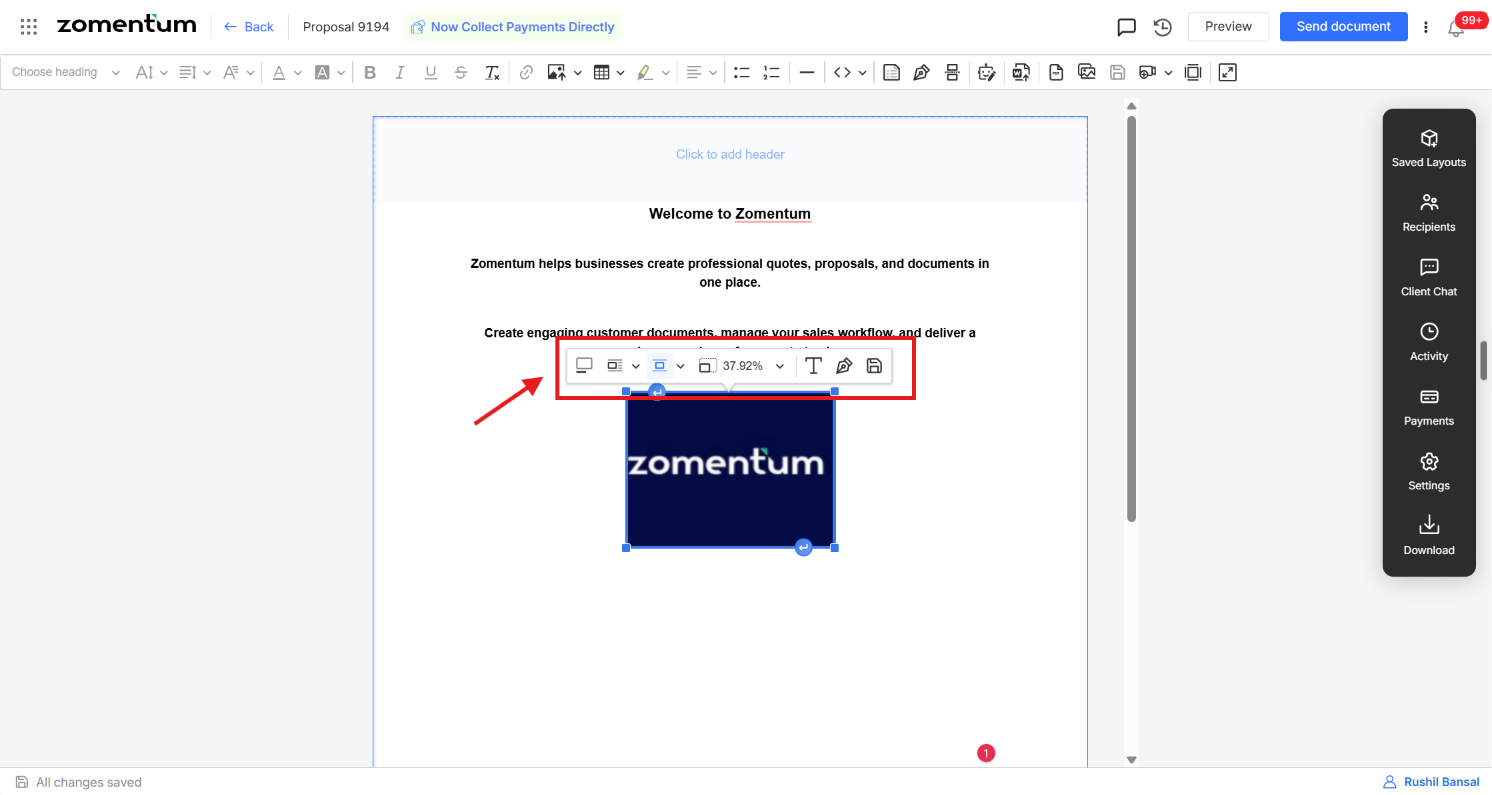
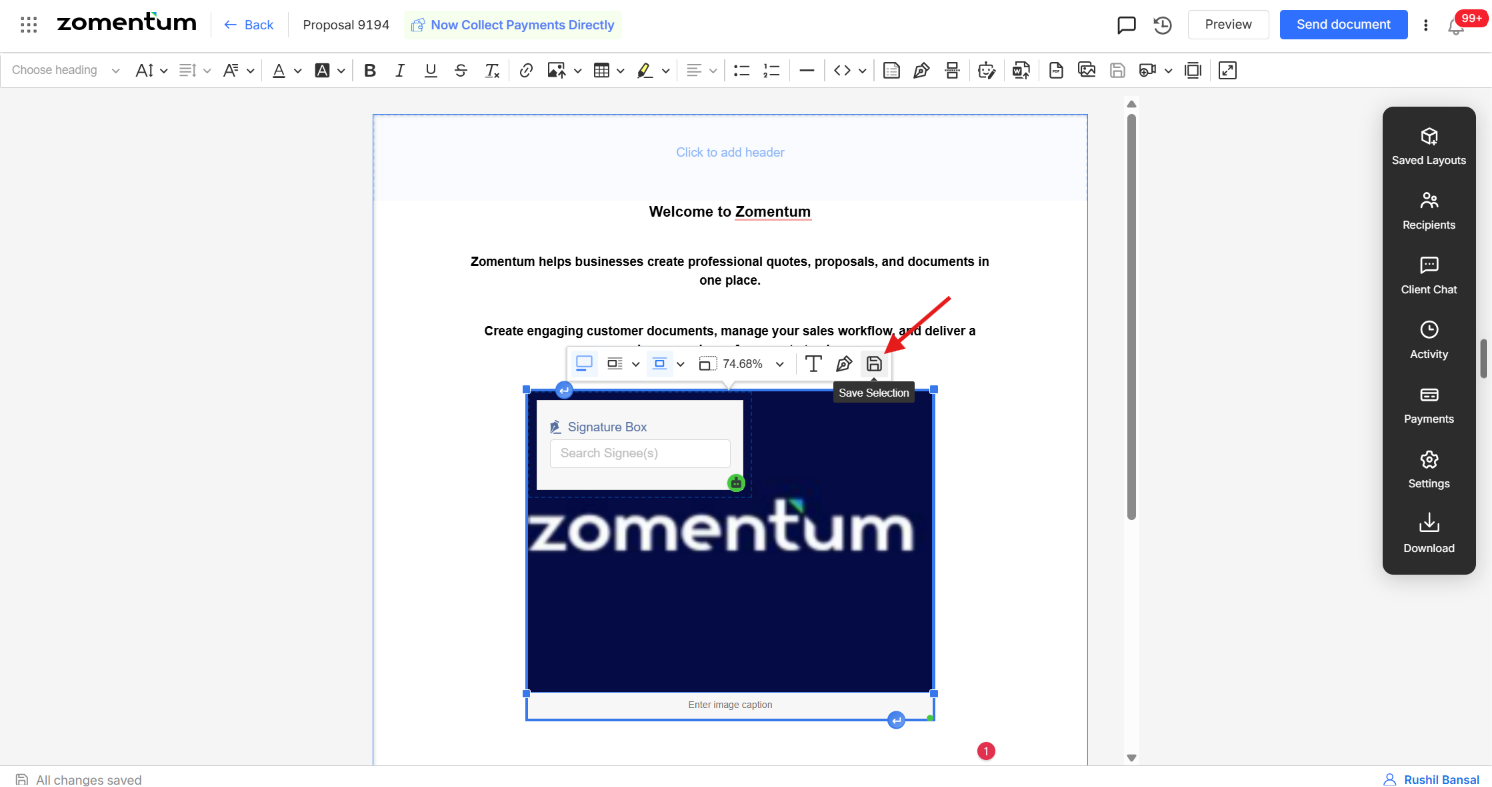
Here is what each icon in the image formatting toolbar does:
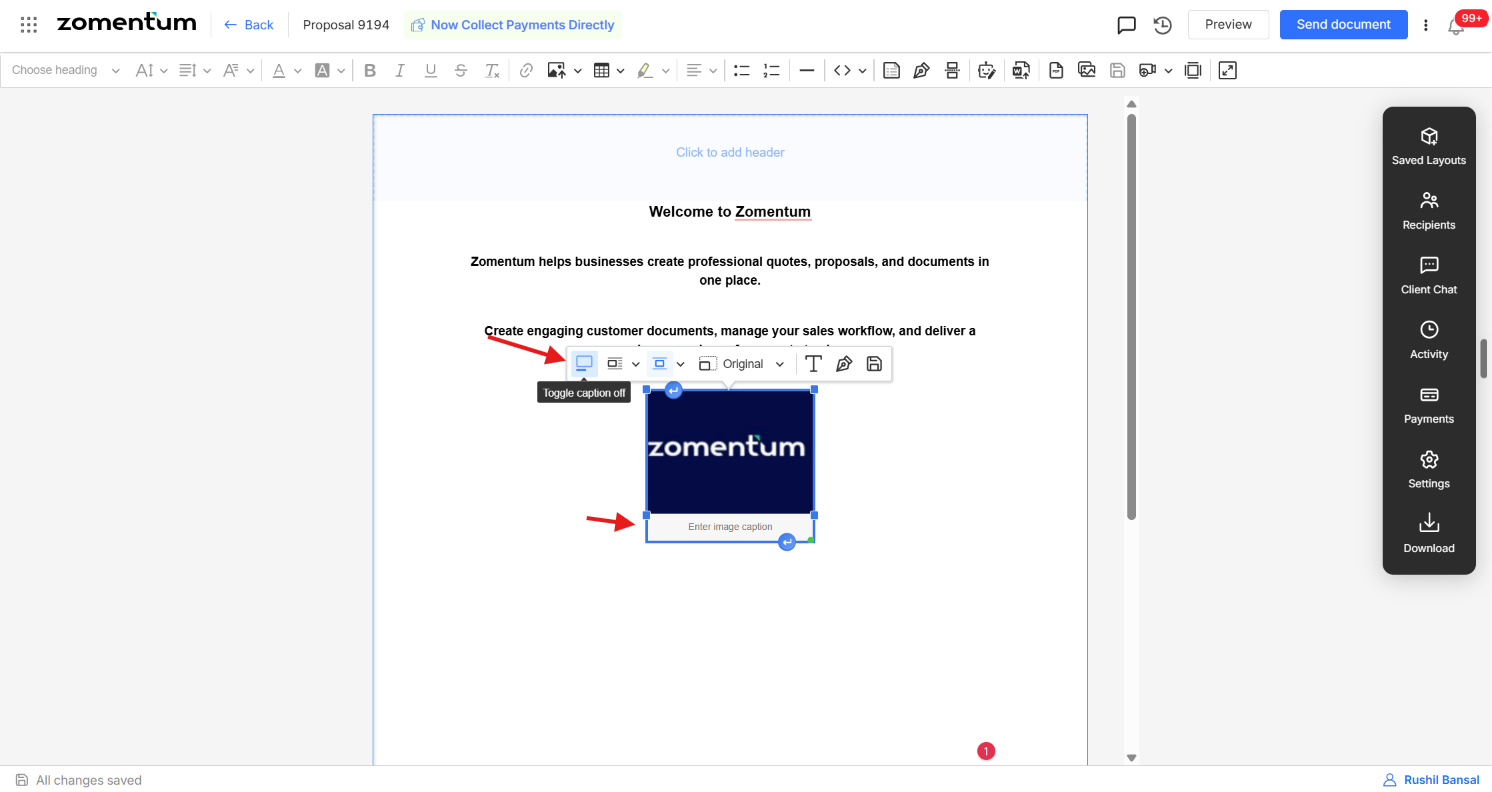
Toggle caption — adds a caption to the image you have inserted. Click this icon to turn the caption on, then type your caption text directly below the image. Click it again to turn the caption off.
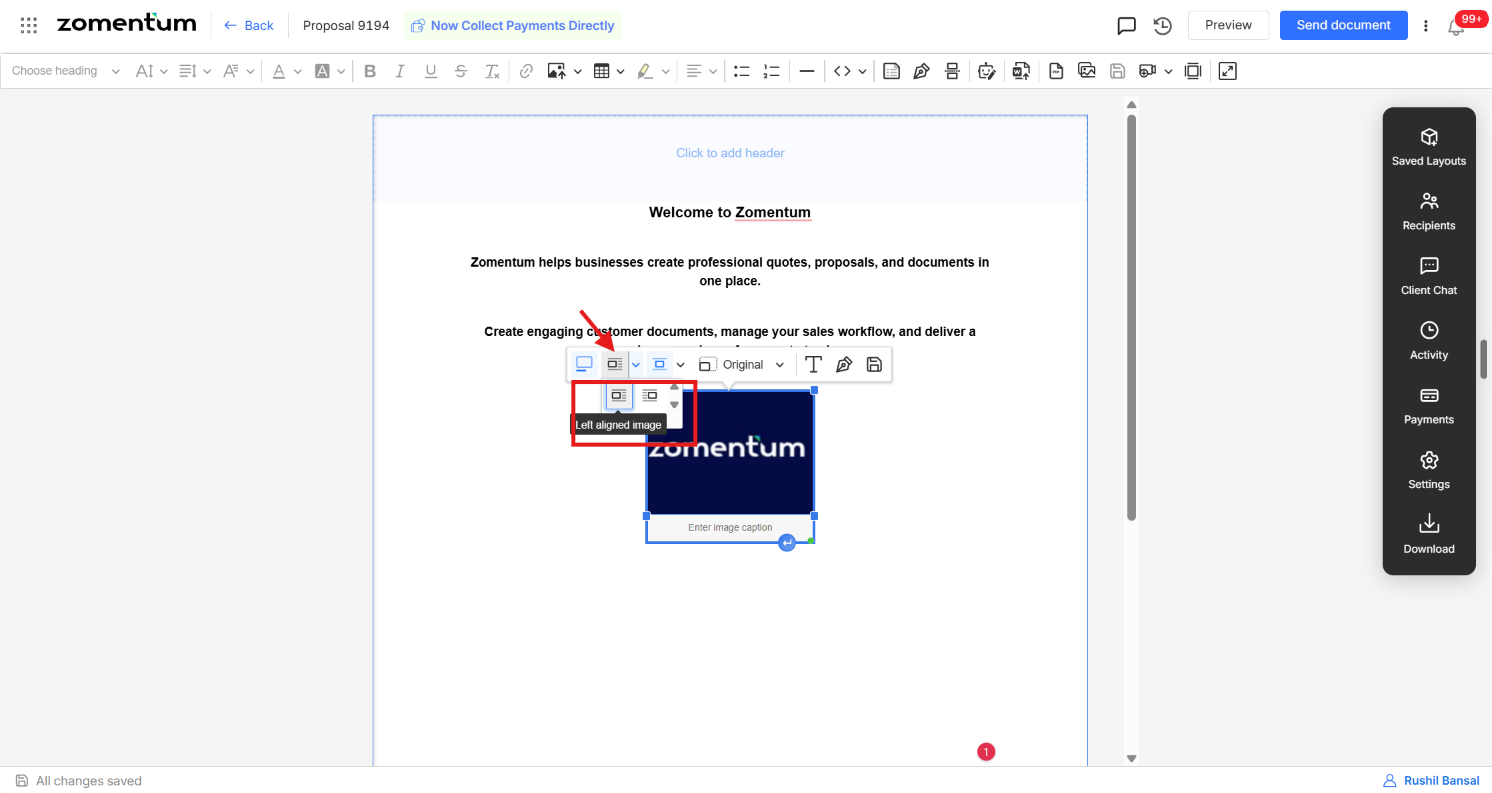
Wrap text (left-aligned or right-aligned) — places the image on the left or right side of the page and lets the surrounding text flow around it. Choose left-aligned to keep the image on the left with the text wrapping on its right, or right-aligned to keep the image on the right with the text wrapping on its left.
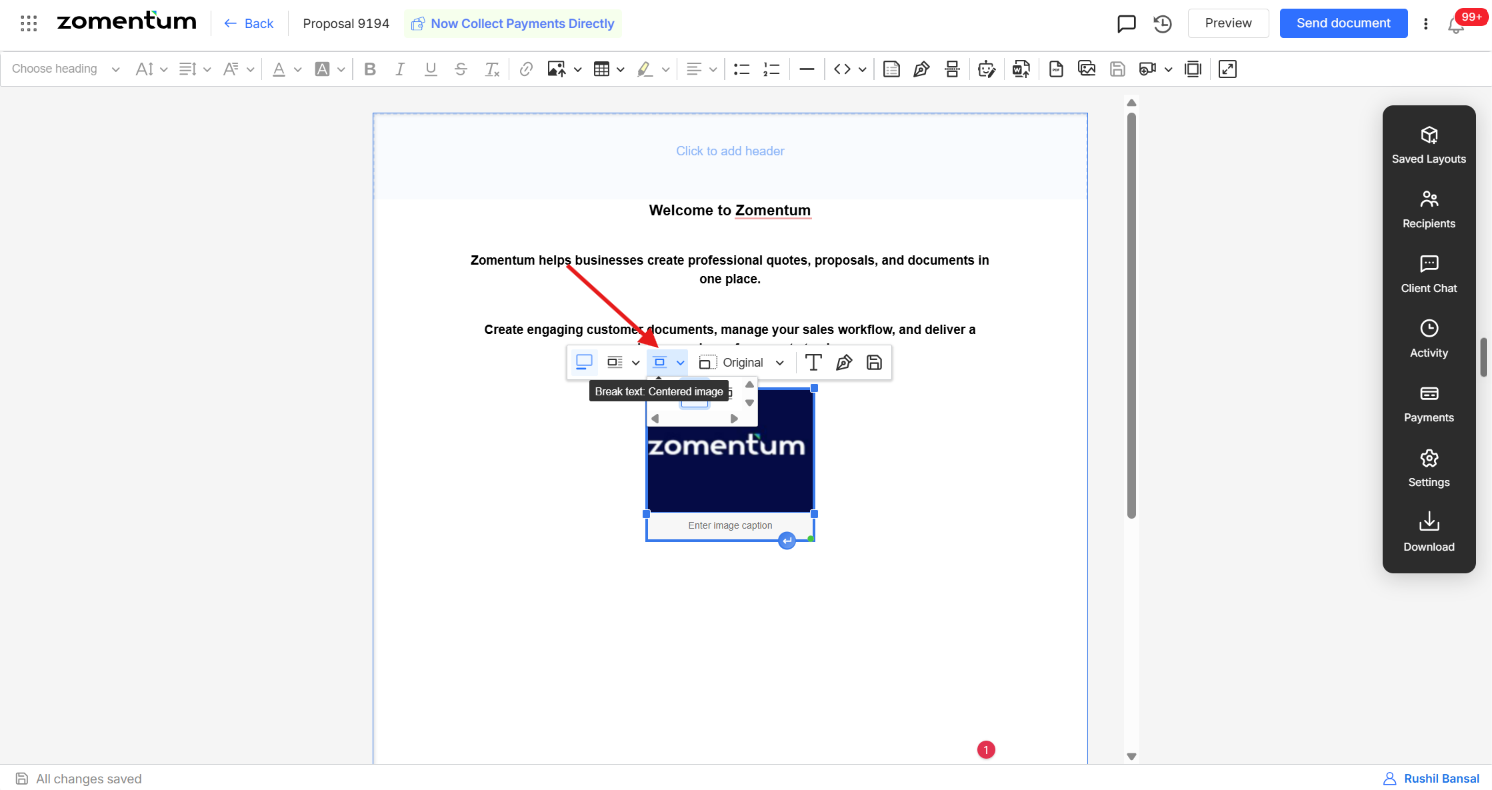
Break text (left, center or right) — keeps the image on its own line so that no text appears beside it. The text breaks above the image and continues below it. Choose left, center or right to position the image on that side of the page, or in the middle.
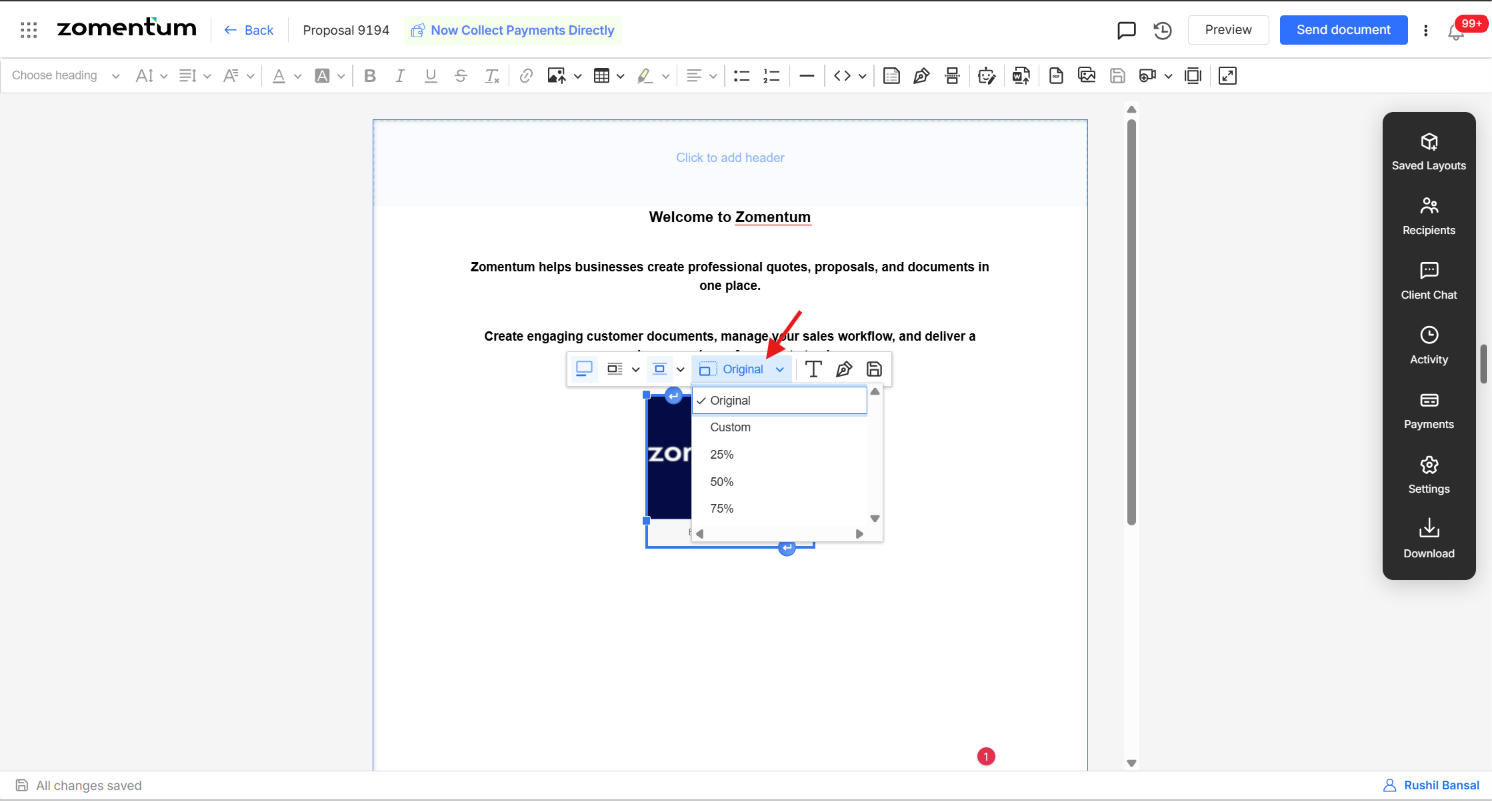
Resize — changes the size of the image as a percentage of its original size. Select 20% or 40% for quick presets, or enter a custom percentage to set the exact size you need.
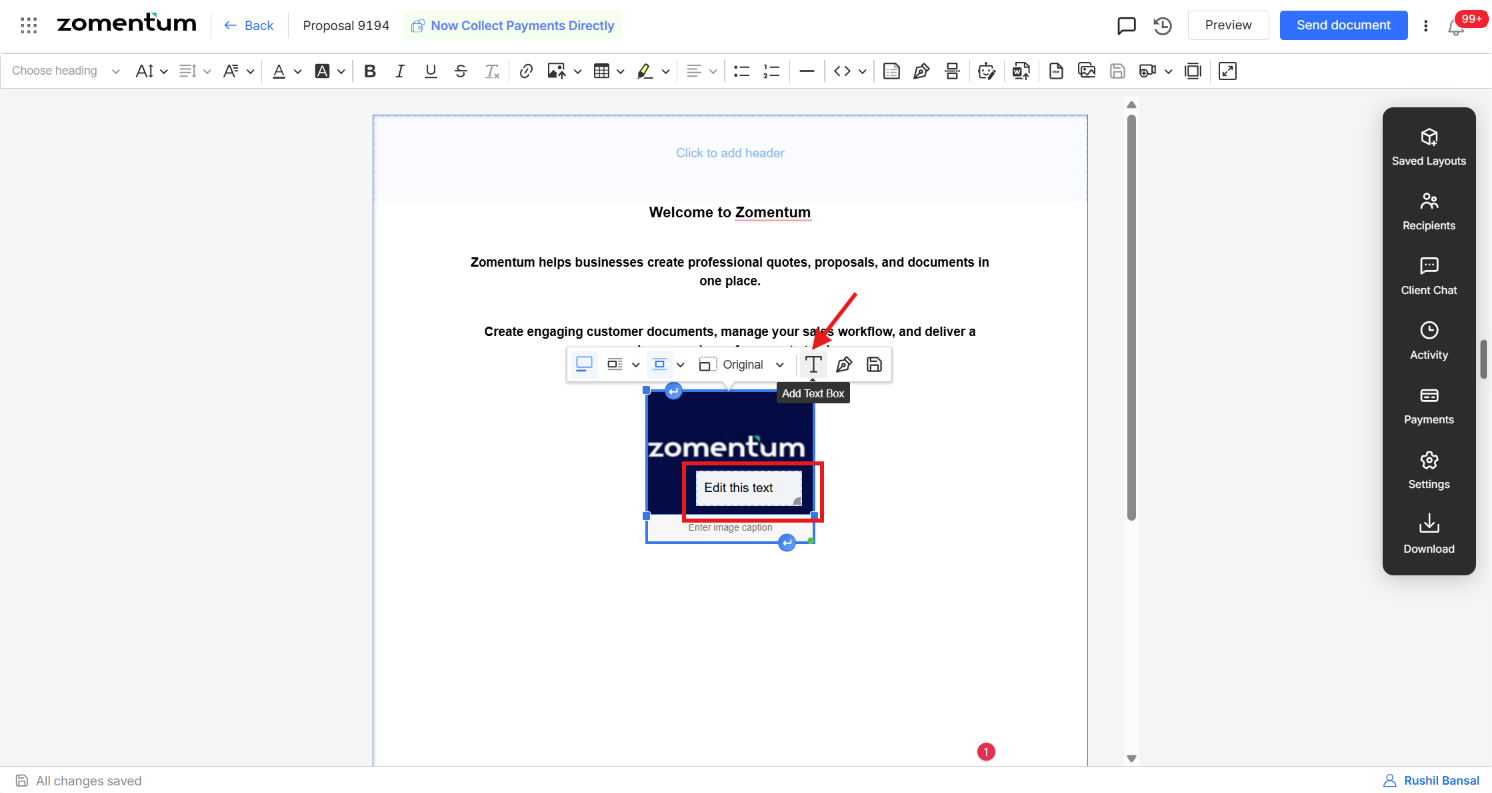
Add a text box over the image — places an editable text box on top of the image so you can overlay text, such as a label, title or note, directly on the picture.
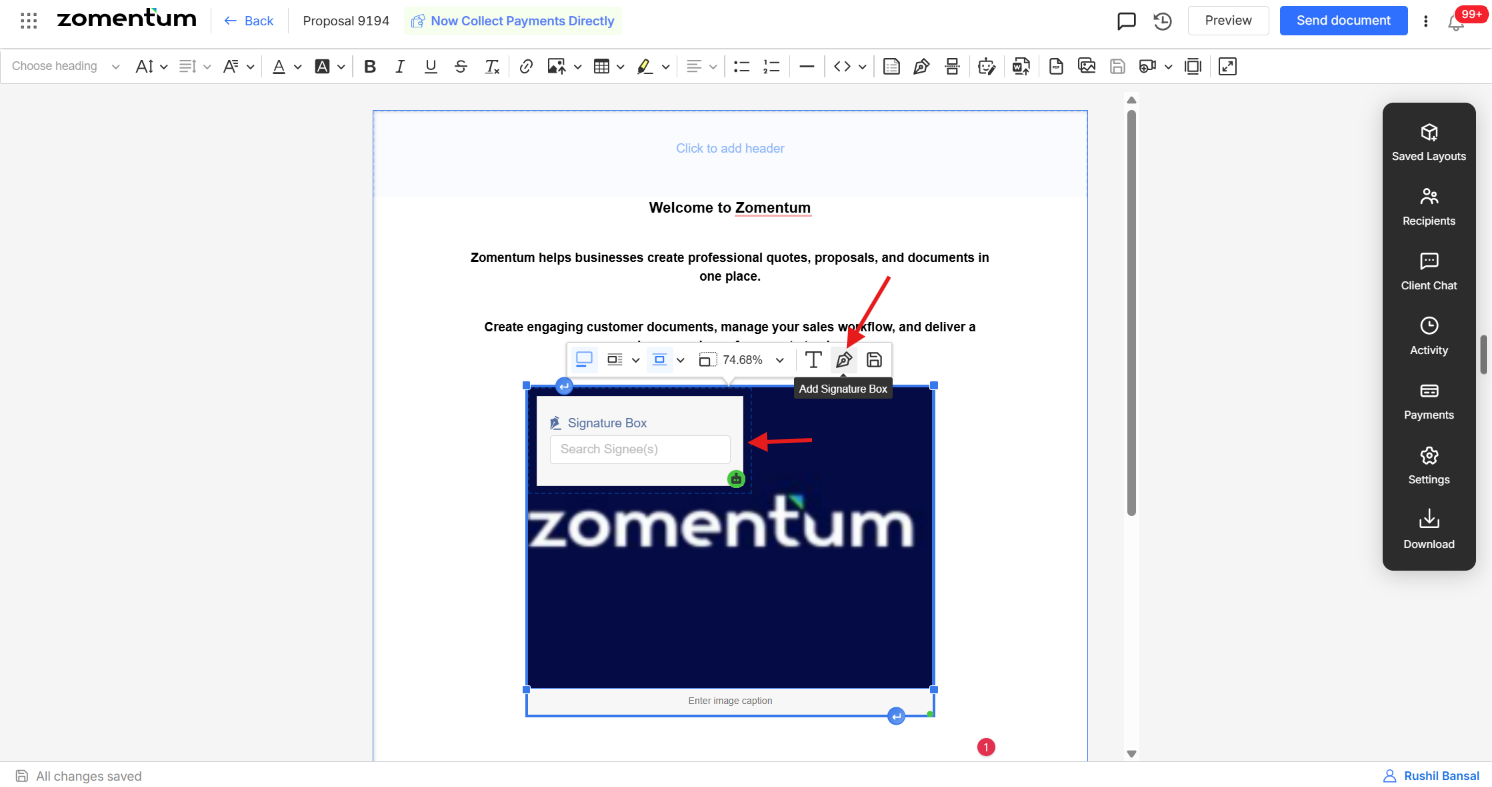
Add a signature box over the image — places a signature box on top of the image so your customer can sign directly over it when they review the document.
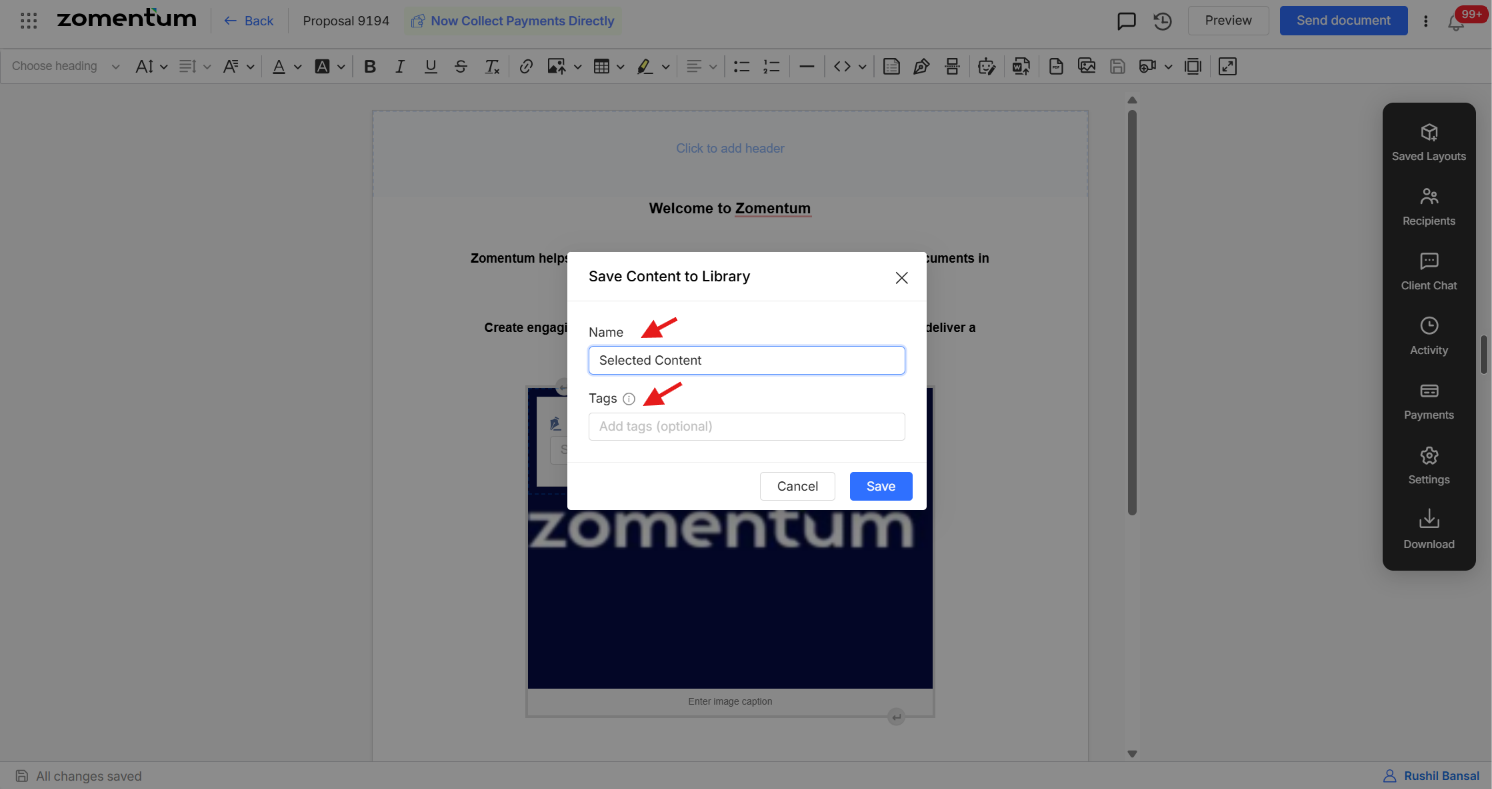
Save selection as a block — saves the selected image, along with any formatting applied to it, as a reusable block.