Stripe is unavailable for our new/returning customers. Please check out Zomentum Payments as your new trusted payments portal.
This article will guide you in integrating your Zomentum account with ConnectBooster/BNG Payments. The integration will enable you to collect payments from the end customer while approving the quote.
Prerequisite:
You would need a BNG Payments account
Note: All Connectbooster customers will have a BNG payment account too.
Integration Overview:
The integration will enable collecting payment from the end customer while approving the quote
Only Credit card payments can be processed
Payments in USD and CAD are supported
Setting up Integration
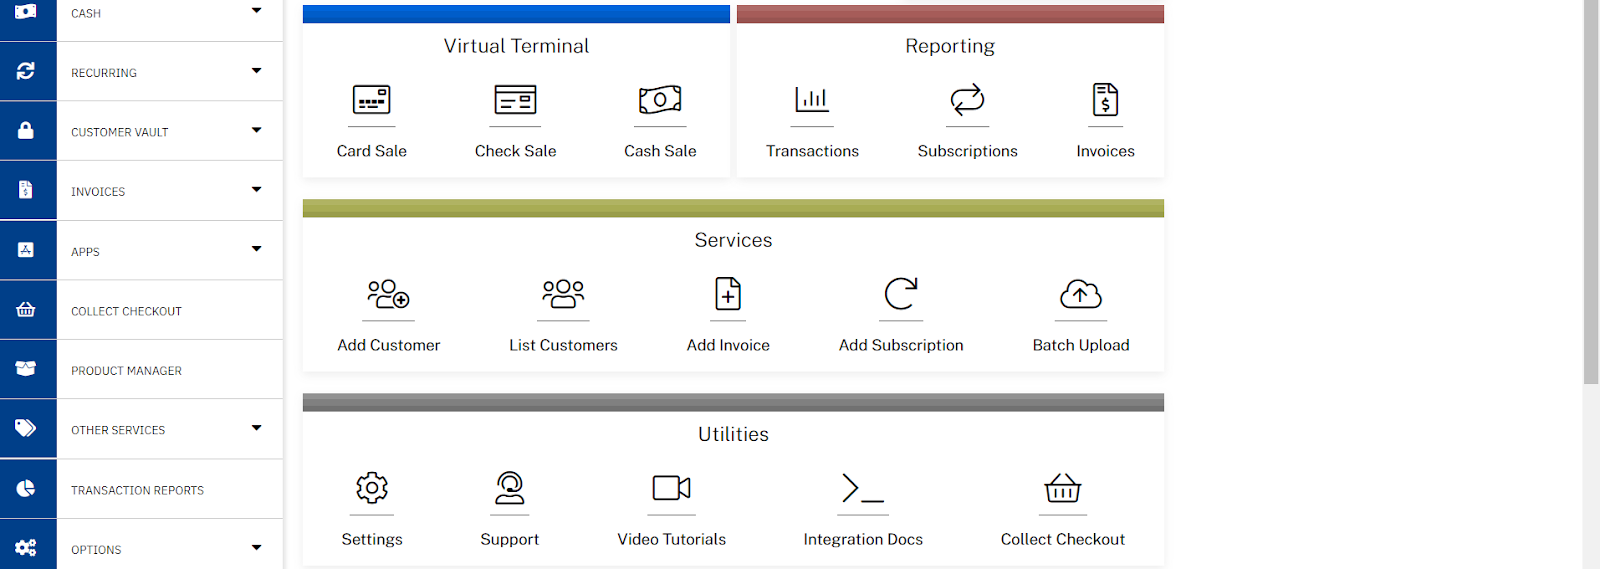
Obtain API Security key from BNG Gateway account.
You can generate or find your API Security Key in the BNG Gateway portal by navigating to Options > Settings > Security Keys
More information on creating the API security key can found here:
Part 2 in this document: https://docs.connectbooster.com/help/bng-gateway-api-security-key
Video link: https://vimeo.com/200899701
Note: Zomentum only needs API permissions while creating the security key
Obtain Tokenization key from BNG Gateway account.
Authenticate via a "tokenization key" that you can generate in your partner control panel under the "Security Keys" settings page. Select a public key, and then "Tokenization" for the key permissions.
Step 1: Login with your BNG Payment credential
Step 2: Scroll down and select “Settings”
Step 3: Select “Security Keys”
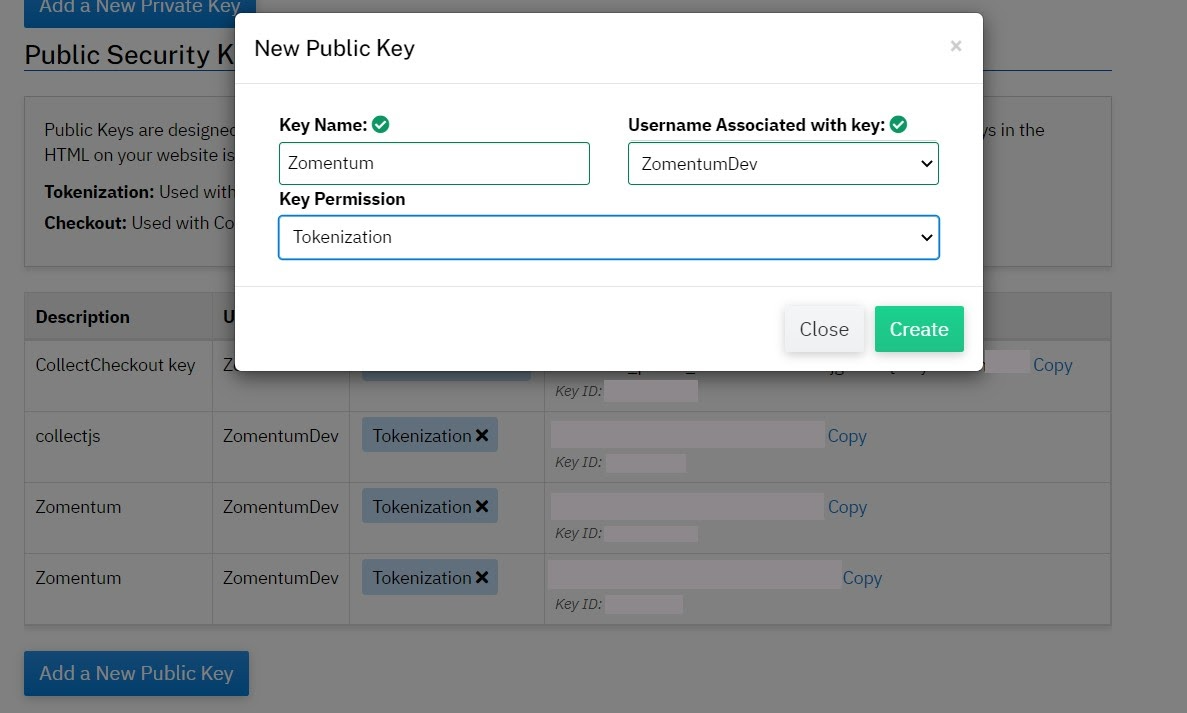
Step 4: Scroll down to “Public Security Keys” and click on “Add a new public key”
Step 5: Enter Key name, Username associated with key, and select “Tokenization” in Key permission.
A new description will appear in the Public Security Keys as shown below.
Step 6: Copy the code
Step 7: Open the Zomentum Dashboard and click on Settings -> Integrations
Step 8: Scroll down to the Payment Gateway section and click Connect
Step 9: Enter the copied Tokenization Key and add your API Key
You will successfully connect to ConnectBooster now.


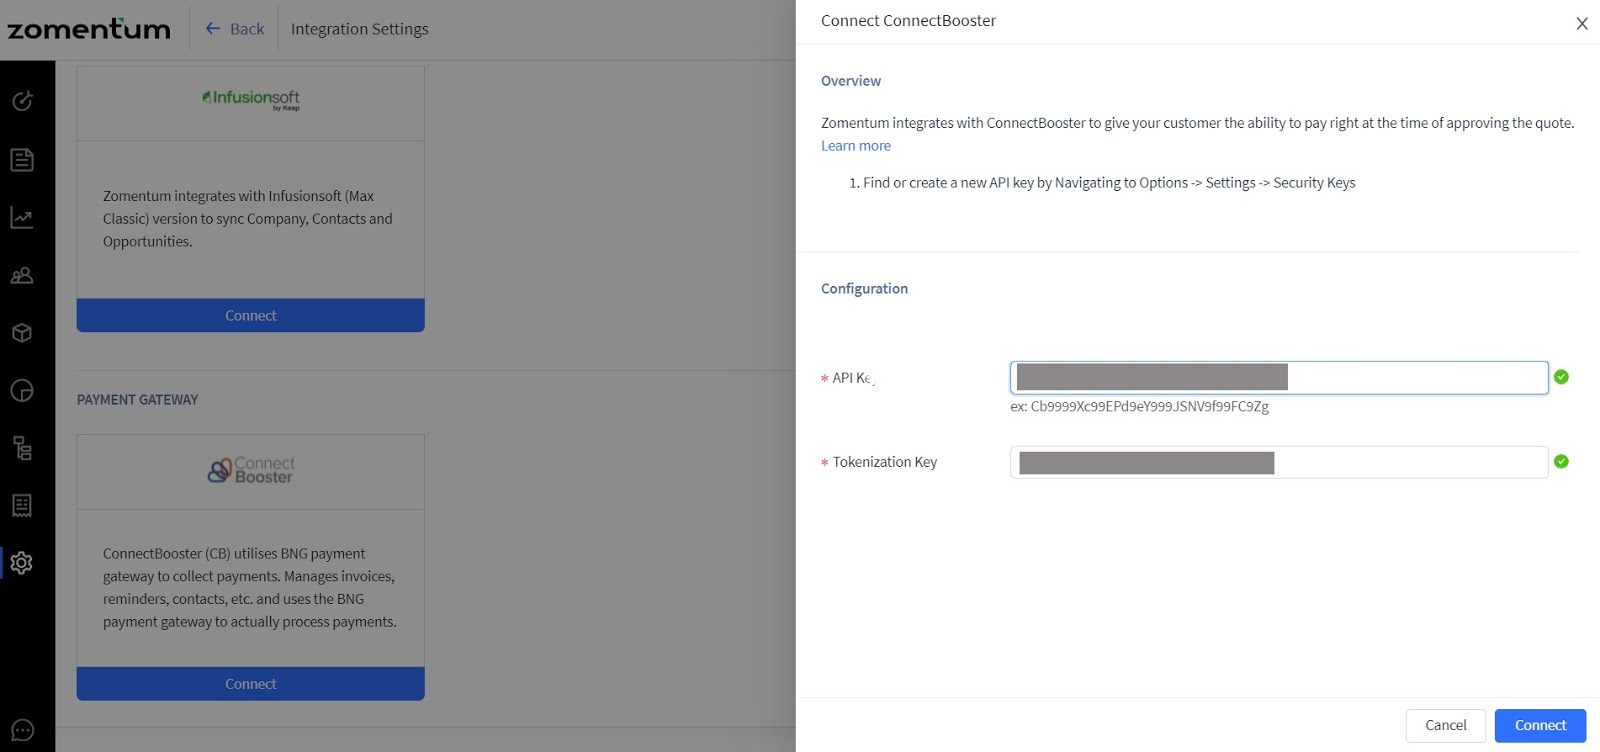
- In Zomentum, Navigate to Settings -> Integrations
- Scroll down to the Payment Gateway section and click on "Connect" under Connectbooster
- On the right drawer enter the API security key and hit save
Enabling payments on documents
Once you have enabled the integration you can now go to the documents and enable payments to start collecting payments.
To enable payments to go to any document you want to collect the payment.
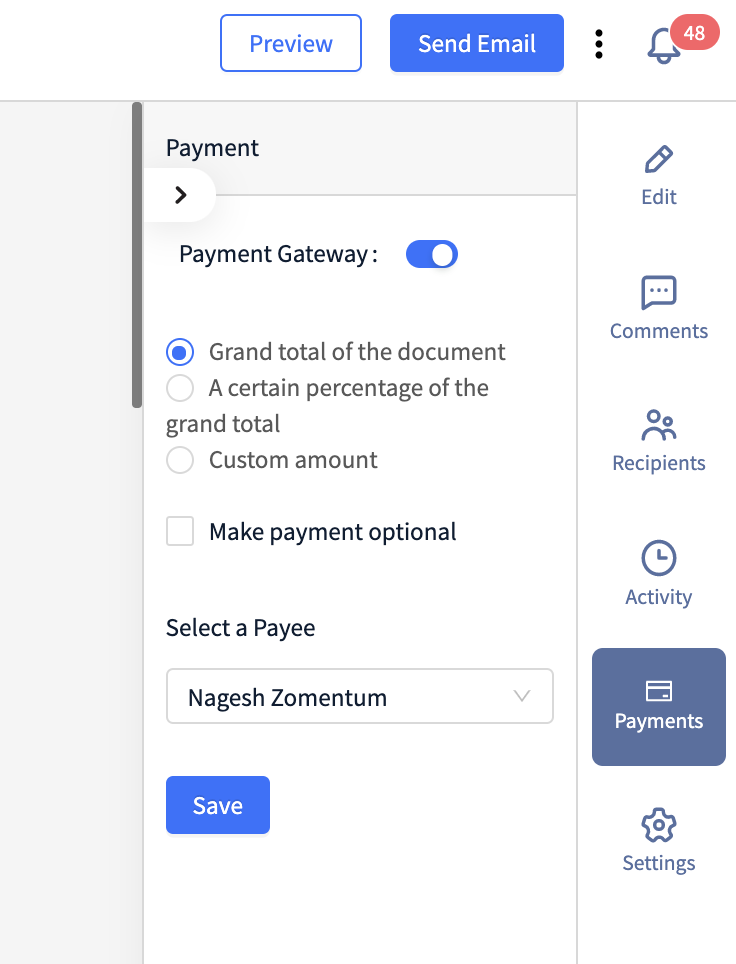
Click on the Payments tab on the right-hand side.
Enable the Payments Gateway toggle.
Choose the amount you want to collect on the particular document
Select "Grand total" if you want to collect the total amount mentioned on the Document
Select 2nd option if you want to collect a certain percentage of the total amount
Select 3rd option (Custom amount) to enter the amount you want to collect on the document
The payment is mandatory by default and the Client has to make the payment before approving the quote. You have an option to make the payment options as well by clicking the "Make payment optional" checkbox.
Lastly, select the payee. A payee can only be a signee or an approver of the document.
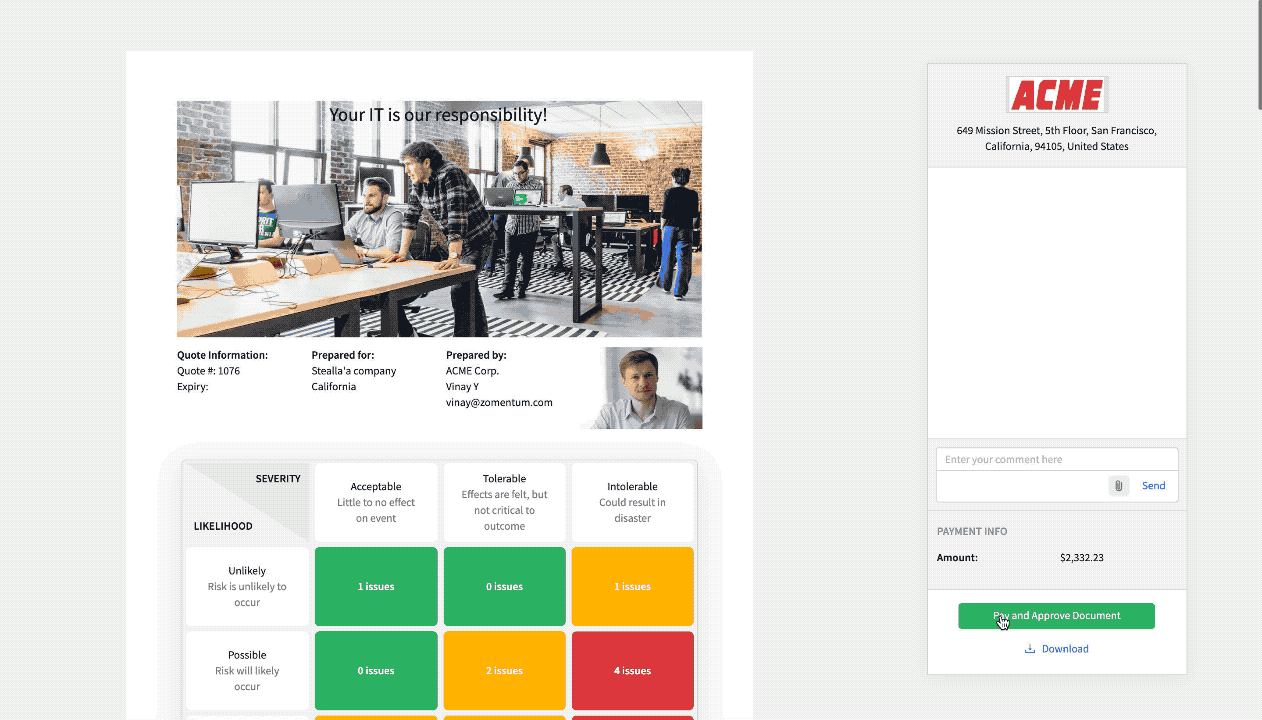
Once payment is enabled, send the document and the client will view the option to make the payment while approving the document. Below is a gif on how the Client will be able to make the payment
Invoice Reconciliation: Find transactions and check the status in BNG Gateway
After the client does the needful, the payment transaction enters the BNG Gateway. And the opportunity/document moves to the PSA.
On our platform, the client can check the transaction status in their BNG Gateway. Post confirmation, they can create the invoice in the PSA.
To check status, we offer several custom-defined fields that you can choose in the client's BNG gateway to identify the transactions with their quotes and opportunities quickly.
Follow the steps to find transactions and check the status before creating the invoice in the PSA.
Step 1: Log in to your BNG Gateway account and click on Transaction.

Step 2: Scroll down. Search transactions by entering the relevant fields and hit submit. For example, enter start and end dates to select a period of transactions.

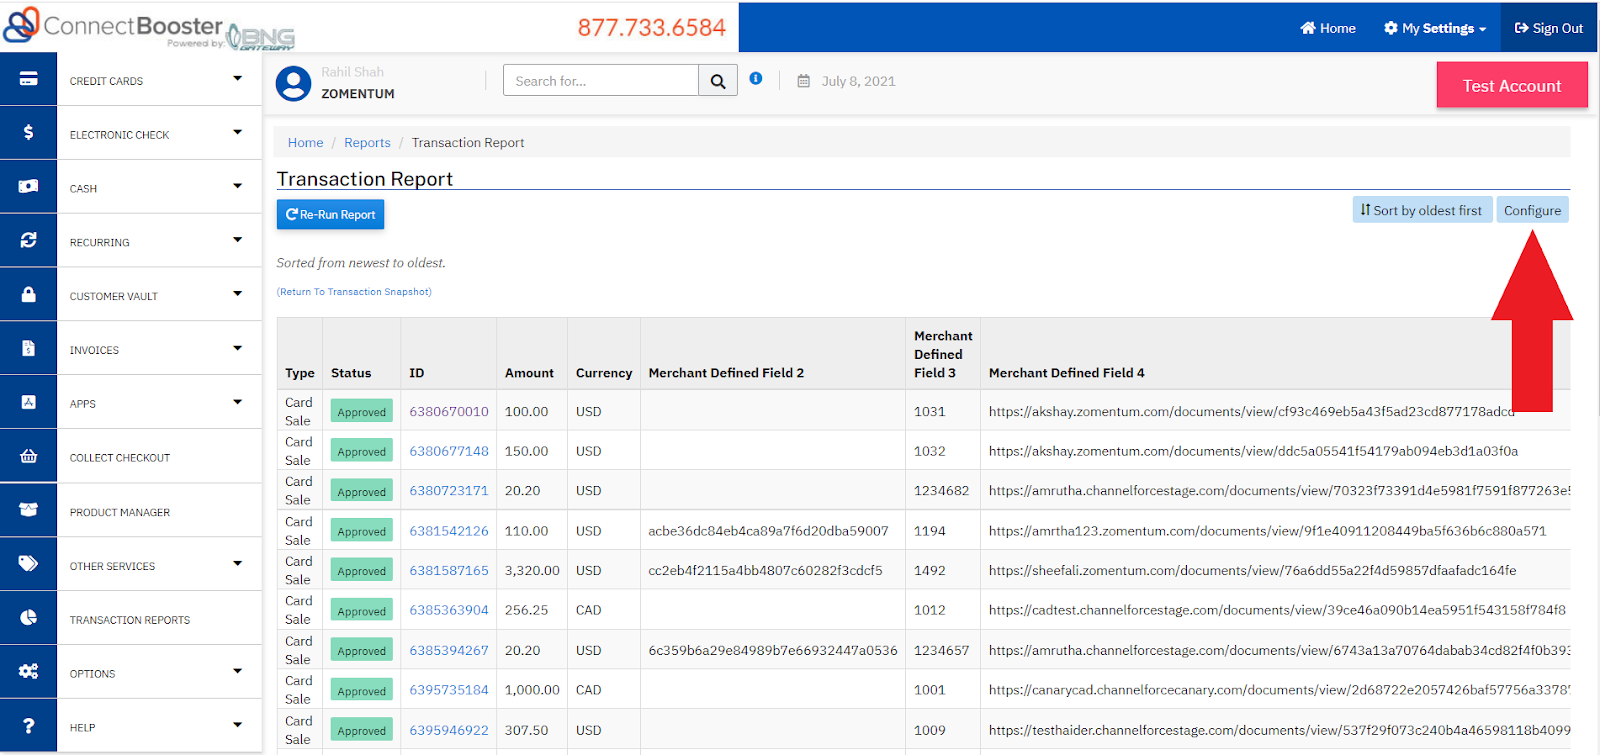
Step 3: You’ll be directed to the transaction report page that hosts all your transactions made to date.

Step 4: To introduce custom fields and find transactions, click on “Configure.”
Step 5: Select or deselect checkboxes and “Save Changes” to specify columns, identify transactions, and check the status of those transactions.

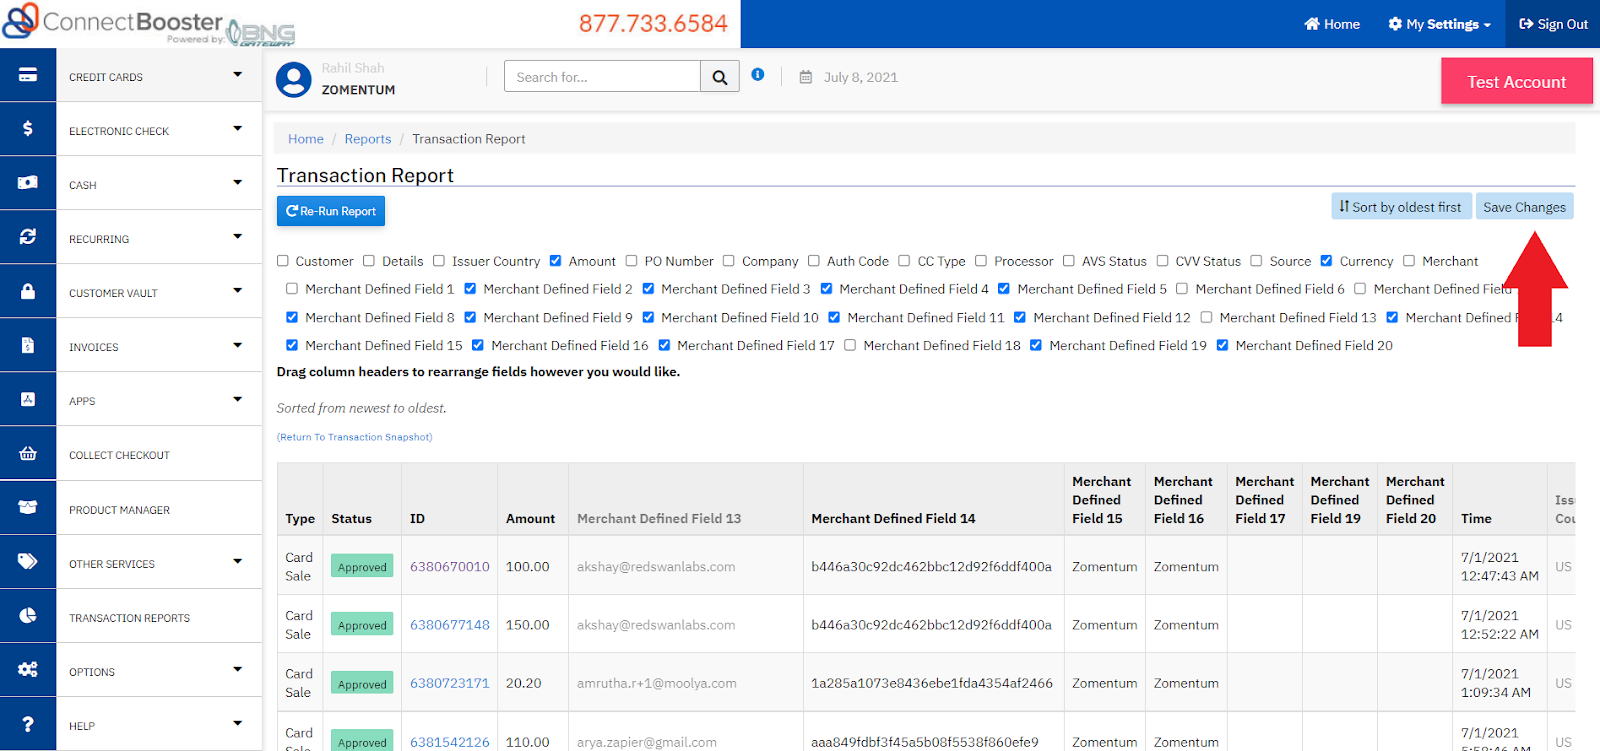
Step 6: You’ll now be able to view transactions matching the specified partner-defined fields. Appropriate column headers will appear accordingly.
Below is the list of custom partner-defined fields that you can select:
MDF 1 - DB ID - Currently, it is Quote doc ID
MDF 2 - Opp. ID
MDF 3 - Document Number
MDF 4 - Document URL
MDF 5 - Opportunity Title
MDF 6 - Document Title
MDF 9 - Manual/….
MDF 10 - Zomentum - codebase
MDF 11 - Set this field to the email of the contact who is making the payment.
MDF 12 - Set this field to the ID of the company that is making the payment.
MDF 13 - Same as MDF 11
MDF 14 - Same as MDF 12
MDF 15 - Zomentum
MDF 16 - Provider Identifier
ACH Payment
We now have ACH (Automated Clearing House) Payment in ConnectBooster.
Once you integrate ConnectBooster, select the ACH gateway under the payment option in the document.
How to set up the ACH method?
You need to create a new document > Payment > toggle ON the Payment Gateway > Select “ACH” ConnectBooster.
Save and send the document to your client.
Things to note before sharing the document with your client:
(I) Option to edit Payment Summary:
1. Grand total of the document: Pay the entire amount.
2. A certain percentage of the grand total: Add a suitable percentage that needs to be collected at the time of the payment.
3. Custom Amount: Enter a fixed or agreed-upon amount.

(II) Payee and Payment option
1. Select the payee if the document has more than one recipient.
2. Add the payment option by selecting the Checkbox here.

Actions needed from the client’s end:
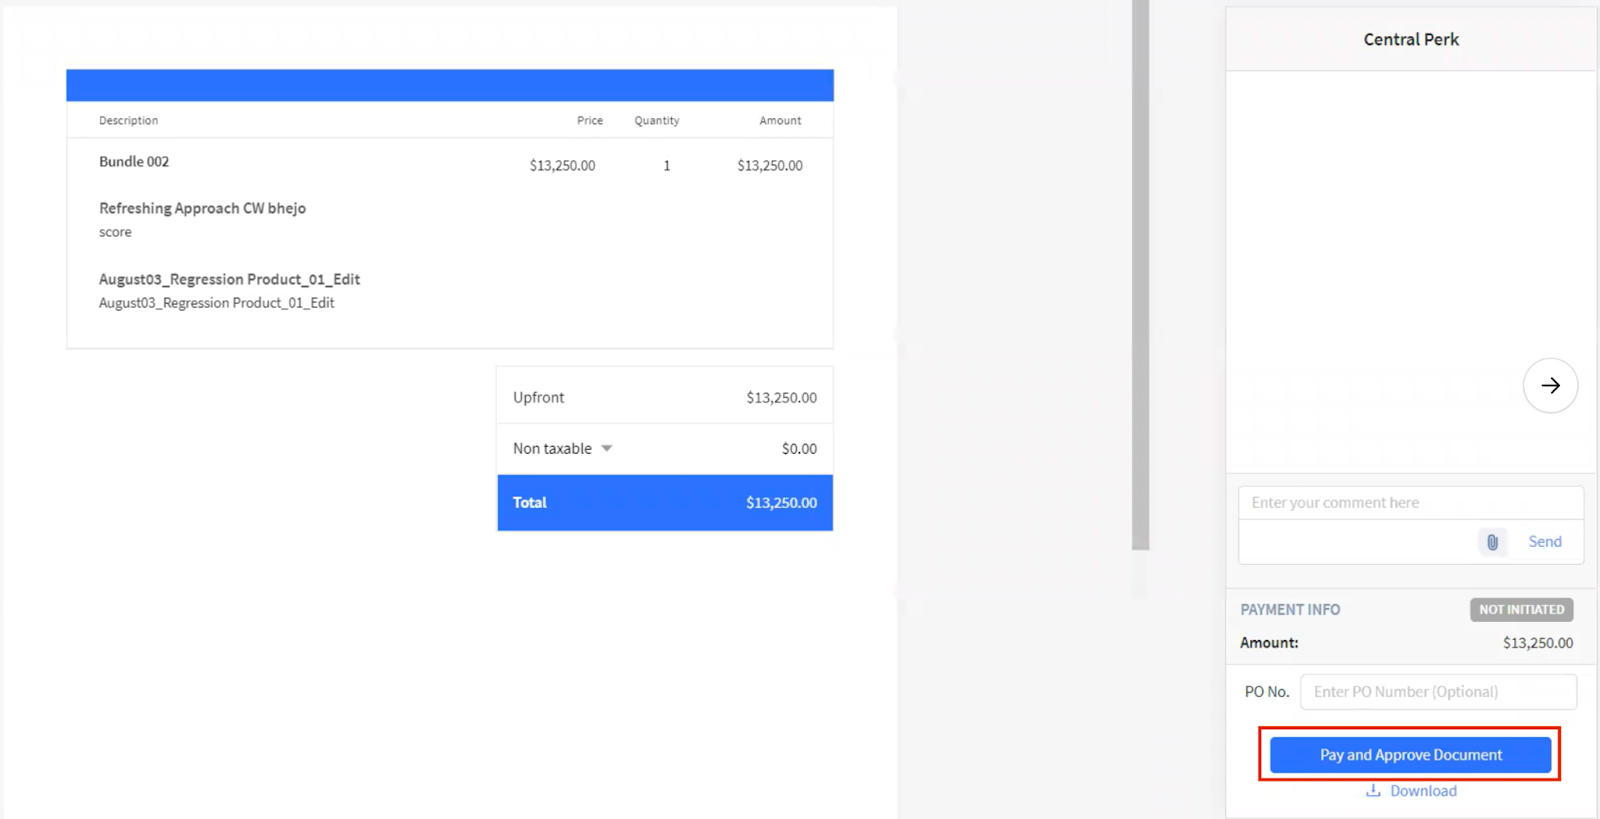
1. Once the client opens the document, they will find the option to “Pay and Approve Document.”
2. A pop-up will ask the client to select the payment method. They will need to select and click on “Next.”

3. The next pop-up will show options including Account type, ACH Account entity, Billing Account Name, Bank Account Number and Billing Routing Number. The client needs to add the details and make the payment.

4. They can click on “Pay now” to complete the transaction.
FAQs
1. For our partners in Canada Region - we only support credit card payments at the moment. To use our BNG integration, you may have to purchase an additional BNG gateway subscription for an extra $15 per month to integrate with ConnectBooster. Please contact our support helpdesk if you are looking to initiate any other form of payment transactions.